
How to Create Inspection Reports from Excel, Word, and Photos
Inspection teams often juggle spreadsheets, Word templates, and dozens of photos per site. By linking Excel rows to a Word template and inserting images automatically, you can turn raw field data into polished reports without repetitive copy‑paste. The approach works entirely on a Windows PC, keeping confidential images local and under your control.
From data to document
Automate Excel‑to‑Word with image insertion
Quick answer
The fastest way to generate inspection reports is to store each site's data in a single Excel row, use a Word template with placeholder tags, and let a short VBA macro copy the row values into the template, insert the matching photo, then save both DOCX and PDF files to a dedicated folder.
Read the row, open the template, replace placeholders like {{SiteName}} and {{Inspector}} with the Excel values, drop the photo that matches the filename listed in the row, then export the finished document. Run the macro once and it creates a complete report for every row.
Why this matters
Field inspectors spend hours formatting each report manually, which introduces inconsistency and delays. By automating the data transfer and image placement, you ensure every report follows the same layout, includes the correct signatures, logos, or stamps, and is ready for client delivery the moment the spreadsheet is updated. The repeatable process also makes it easy to audit who generated which report and when.
Consistency and compliance
When every document is produced from the same Word template, headings, fonts, and image handling stay uniform. Special tags such as photo_logo, photo_signature, and photo_stamp are inserted at the exact same resolution (150 DPI for regular images, 300 DPI for signatures) so the final PDFs meet internal quality standards without manual tweaking.
What goes wrong
Many teams try to glue together Excel, Word, and images with manual steps, which quickly leads to missing pictures, mismatched filenames, and broken placeholders. The ad‑hoc approach also creates hidden inconsistencies that only appear when a report is printed or shared as PDF.
Manual copy‑paste workflow
Inspectors open the spreadsheet, copy each cell into the Word template, search for the correct photo on a file share, insert it, adjust size, then save. A single typo or forgotten image means the whole report must be redone. Scaling to dozens of sites becomes impractical.
Automated VBA‑driven workflow
A macro reads every row, replaces all placeholders automatically, checks that the referenced photo file exists, inserts it at the bookmarked location, and saves both DOCX and PDF in one pass. Errors are caught early (missing file prompts) and the process runs the same way for every record.
The difference is reliability: automation removes the random human errors that cause rework and makes it feasible to produce hundreds of inspection reports with the same level of quality.
What the workflow looks like
Below is a step‑by‑step outline of a solid local workflow that ties Excel, Word, and a photo folder together. All actions run on the inspector’s Windows machine, keeping data and images private.
1 Prepare the Excel source sheet
Create a worksheet named “Reports”. Each row represents one inspection. Include columns for a unique ID, site name, inspector name, inspection date, and the exact photo filename (e.g., 12345.jpg). Keep the sheet free of merged cells and use simple text or date formats.
2 Design the Word template
Insert placeholder tags – for example {{SiteName}}, {{Inspector}}, {{Date}} – wherever data should appear. Add a bookmark named “photo_main” where the main inspection photo will go. If you need a logo, signature, or stamp, add the special tags photo_logo, photo_signature, or photo_stamp in the appropriate places.
3 Gather the photos
Create a folder called “Photos” next to the workbook. Ensure each image filename matches the value stored in the Excel “PhotoFilename” column. Use PNG for signatures/stamps (300 DPI) and JPEG for regular site photos (150 DPI).
4 Run the VBA macro
Execute the macro from the Excel workbook. It opens the Word template once per row, replaces all placeholders with the row’s values, inserts the matching picture at the bookmark, saves a DOCX, then exports a PDF to a “Generated” folder. The macro also creates the output folder if it does not exist.
5 Verify output
Open a few generated DOCX or PDF files to confirm that data populated correctly and images appear at the expected size. The macro will display a message box with the total count of reports created.
A visual example
Simple visual illustration.
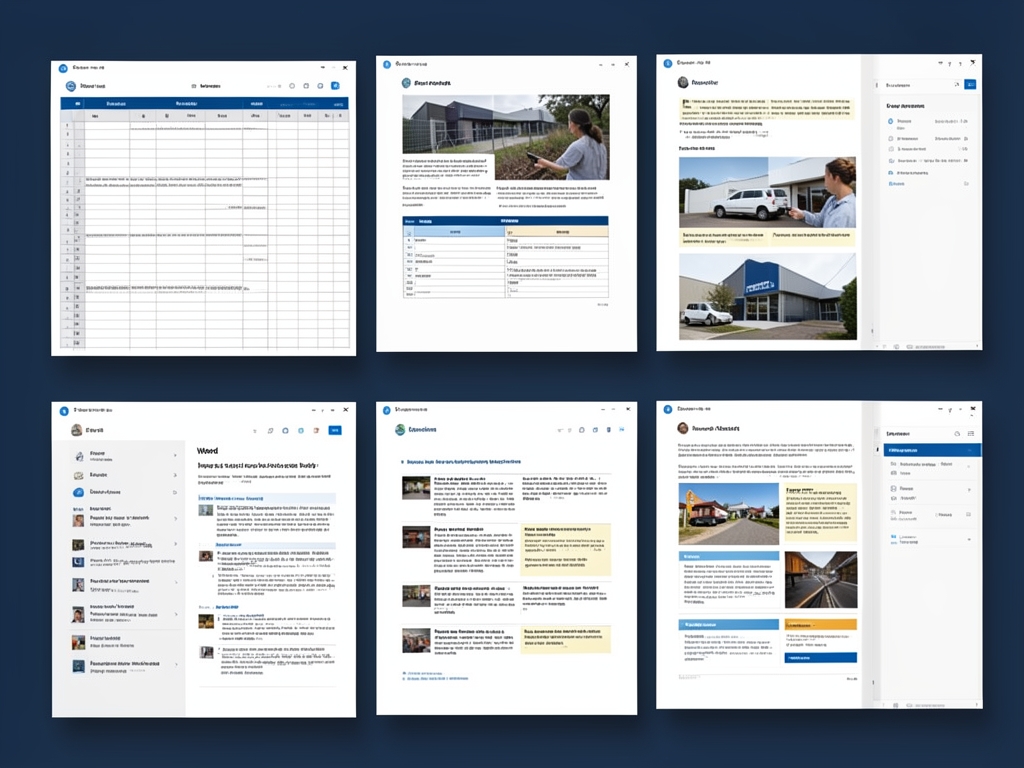
AI-generated illustration for article.
A grounded VBA example
The following VBA macro implements the workflow described above. It works from Excel, drives Word via automation, and handles image insertion safely.
Copy the code into a standard module in the workbook that holds the source sheet. Adjust the template, photo, and output folder paths if you store them elsewhere.
Sub GenerateInspectionReports()
    Dim xl As Workbook, ws As Worksheet
    Dim wdApp As Object, wdDoc As Object
    Dim lastRow As Long, i As Long
    Dim templatePath As String, outputFolder As String, photoFolder As String
    Dim reportName As String, imgPath As String

    Set xl = ThisWorkbook
    Set ws = xl.Sheets("Reports")

    templatePath = xl.Path & "\InspectionTemplate.docx"
    outputFolder = xl.Path & "\Generated"
    photoFolder = xl.Path & "\Photos"

    If Dir(outputFolder, vbDirectory) = "" Then MkDir outputFolder

    Set wdApp = CreateObject("Word.Application")
    wdApp.Visible = False

    ' Corrected typo: xlUp (capital U) for proper upward navigation
    lastRow = ws.Cells(ws.Rows.Count, "A").End(xlUp).Row

    For i = 2 To lastRow
        reportName = ws.Cells(i, "A").Value
        Set wdDoc = wdApp.Documents.Open(templatePath, ReadOnly:=True)

        wdDoc.Content.Find.Execute FindText:="{{SiteName}}", ReplaceWith:=ws.Cells(i, "B").Value, Replace:=2
        wdDoc.Content.Find.Execute FindText:="{{Inspector}}", ReplaceWith:=ws.Cells(i, "C").Value, Replace:=2
        wdDoc.Content.Find.Execute FindText:="{{Date}}", ReplaceWith:=ws.Cells(i, "D").Text, Replace:=2

        imgPath = photoFolder & "\" & ws.Cells(i, "E").Value
        If Dir(imgPath) <> "" Then
            wdDoc.Bookmarks("photo_main").Range.InlineShapes.AddPicture FileName:=imgPath, LinkToFile:=False, SaveWithDocument:=True
        Else
            MsgBox "Image not found for row " & i & ": " & imgPath, vbExclamation, "Missing Photo"
        End If

        wdDoc.SaveAs2 FileName:=outputFolder & "\" & reportName & ".docx", FileFormat:=16
        wdDoc.ExportAsFixedFormat OutputFileName:=outputFolder & "\" & reportName & ".pdf", ExportFormat:=17
        wdDoc.Close SaveChanges:=False
    Next i

    wdApp.Quit
    MsgBox "Inspection reports generated: " & (lastRow - 1) & " documents.", vbInformation
End Sub
Run GenerateInspectionReports from the Macros dialog or assign it to a button on the sheet for quick access.
Where VBA starts to strain
While VBA handles most medium‑scale workloads well, there are practical limits you should be aware of:
Performance with very large batches
When the Excel sheet contains several thousand rows, opening and closing Word for each row can become time‑consuming. In such cases, consider splitting the workbook into smaller batches or using a more robust automation platform that keeps Word open for multiple rows.
Complex image processing
VBA can insert pictures but does not provide advanced resizing, cropping, or DPI conversion. If you need to downscale high‑resolution photos before insertion, pre‑process them with a dedicated image tool or script outside the VBA loop.
A calmer way to standardize the workflow
DocxForge Pro builds on the same local‑first principles but removes the manual macro maintenance overhead. It provides a dedicated UI to map Excel columns to Word placeholders, handles image caching, and generates both DOCX and PDF in a single batch operation.
For repeatable business documents such as reports contracts certificates letters and packs DocxForge Pro can act as the local layer between spreadsheet data Word templates and final output. It keeps the workflow grounded in Excel data and Word templates rather than splitting the process across disconnected tools.
This fits teams that produce repeatable reports contracts certificates forms letters or document packs from structured data. This is most useful when Excel remains the source of truth for document data. The article’s VBA example shows the spreadsheet-side automation while DocxForge Pro fits as the document-generation layer outside the code example itself.
Start Free 7-Day TrialBatch‑oriented UI
Select your Excel file, Word template, and photos folder once, then let the engine process every row without writing code.
Built‑in image handling
The product automatically resolves photos by filename, applies the correct DPI rules, and places them in the right bookmarks, eliminating the need for custom VBA loops.
Zero‑code repeatability
Because the workflow is defined in the UI, new users can run it without editing macros, reducing training time and the chance of script errors.
Frequently asked questions
Common questions about the Excel‑Word‑photo inspection report workflow:
Is this workflow suitable for creating inspection reports from Excel, Word, and photos?
Yes. The process is designed for any inspection scenario where each record lives in a spreadsheet row, a Word template defines the report layout, and a photo per record is stored locally. It works for field audits, safety checks, and equipment inspections.
What source data has to stay consistent before generation starts?
The Excel sheet must keep column headings stable (ID, SiteName, Inspector, Date, PhotoFilename). Photo filenames must exactly match the values in the PhotoFilename column, including case and extension. The Word template should retain the same placeholder tags and bookmark names each time you run the macro.
How do I adapt the template without breaking the workflow?
When you add or rename a placeholder, update the VBA Find/Replace calls to use the new tag. If you move the photo bookmark, change the line that references wdDoc.Bookmarks("photo_main"). Otherwise the macro will still run, but the picture will be inserted at the old location.
Can this process scale across many records and templates?
The macro can handle hundreds of rows comfortably. For very large projects, split the spreadsheet or use DocxForge Pro, which is built for high‑volume batch generation and can process multiple templates in one run.
Topics and Tags
Browse related topic clusters and workflow tags connected to this article.
Continue Reading
Explore more articles related to this workflow, problem, or document automation topic.
How to Automate Home Inspection Reports with Excel, Word, and PDF
Learn how to streamline home inspection report creation by linking Excel data, Word templates, and PDF output with a practical VBA‑driven workflow.
Read articleExcel → Word → PDF Workflow for Home Inspection Reports
A step‑by‑step guide for home‑inspection teams to turn Excel data into Word reports and PDF files, with a practical VBA macro and tips for scaling the process.
Read articleHow to Create Photo-Based Property Condition Reports
Create photo-based property condition reports
Read articleExcel → Word → PDF Workflow for Compliance Evidence Packs
Build a compliance evidence pack workflow using Excel, Word, and PDF
Read article