
Excel → Word → PDF Workflow for Home Inspection Reports
Home-inspection teams often collect data in Excel spreadsheets, then spend hours copying that information into Word templates and exporting PDFs for clients. This article shows a repeatable, offline-first workflow that moves data, inserts property photos, and creates final documents with just a few clicks. Follow the guide to reduce manual effort and keep every report consistent.
Current suite demo
Contractor + Factory • local Word/PDF output
Quick answer
The fastest way to produce a home-inspection report is to store each inspection on a single Excel row, use a Word template with clearly defined tags or placeholders, and let a local workflow copy the values, add the property photo, and export a PDF. The process can loop through the sheet, open the template, replace text tags, insert images only when the file exists, save the Word file, and finally create the PDF. The whole batch runs without leaving the computer, keeping data private and eliminating repetitive copy-paste work.
Read the spreadsheet, fill the template, add any photos, and save both Word and PDF files automatically.
Why this matters
Inspection reports are legal documents that must contain the same fields, formatting, and branding for every client. When staff manually copy data, typos, missing photos, and inconsistent layouts become common, which can delay delivery and create compliance headaches. Automating the flow guarantees that every report uses the exact same template, includes the correct image, and follows the same naming convention, which saves time and protects your business reputation.
Consistency and compliance
A structured Excel-to-Word-to-PDF pipeline ensures that every report contains the required sections—client name, address, inspection date, findings, and signed photos—exactly where they belong. Because the process handles the insertion, you never forget a signature image or misplace a field, reducing the risk of rework and helping you meet industry standards.
What goes wrong
Many teams start with a simple copy-and-paste approach, but that method quickly shows its limits. Missing photos, mismatched filenames, and forgotten field updates cause a cascade of errors that pile up as the number of inspections grows.
Typical manual process
Technician opens Excel, copies each cell into a Word template, manually inserts the property photo, saves the document, then uses the Save As dialog to create a PDF. Each step depends on the operator remembering the correct order, leading to skipped images, mistyped client names, and PDFs saved in the wrong folder.
Automated workflow
A local workflow reads every row, opens the Word template, replaces tags, checks that the photo file exists before insertion, saves the Word file to a dedicated folder, and exports a PDF to a matching folder. All files are named from the same source fields, so no document is misplaced.
The manual method works for a handful of reports but becomes error-prone and time-consuming at scale. Automation removes the human-step bottleneck and helps ensure that each report is complete and correctly filed.
What the workflow looks like
The workflow consists of three core stages—prepare data, run the generation process, and verify the output. Each stage can be repeated as new inspections are added, giving you a repeatable pipeline that lives entirely on the inspector’s PC.
1. Build a stable Excel data sheet
Create a worksheet named “Data”. Column A holds a unique ID, B the client name, C the property address, D the inspection date, and E the photo filename. Keep the header row on line 1 and enter each inspection on its own row. Consistent column order is essential because the workflow depends on structured input.
2. Prepare the Word template
Insert clearly named tags or placeholders where data will appear—ClientName, Address, InspectionDate, and PhotoMain for the property image. Save the file as InspectionTemplate.docx in the same folder as the Excel workbook. Do not embed images directly; the workflow will place them in the correct position when the matching file is found.
3. Collect photos in a known folder
Create a subfolder called “Photos” beside the workbook. Place every property picture there and name the file exactly as entered in column E. The workflow checks this folder, so any missing file can be flagged without breaking the whole run.
4. Run the generation workflow
The generation process loops through every row, opens the Word template, fills text tags, adds the picture if it exists, saves a Word file under “Reports\Word”, and writes a matching PDF under “Reports\PDF”.
5. Review and file the results
After the run finishes, open the Reports\Word folder to confirm the .docx files contain the correct data. Then open the Reports\PDF folder to verify each PDF looks as expected. Because the filenames are built from the client name or chosen naming field, you can sort the folders for quick client lookup.
A visual example
Simple visual illustration.
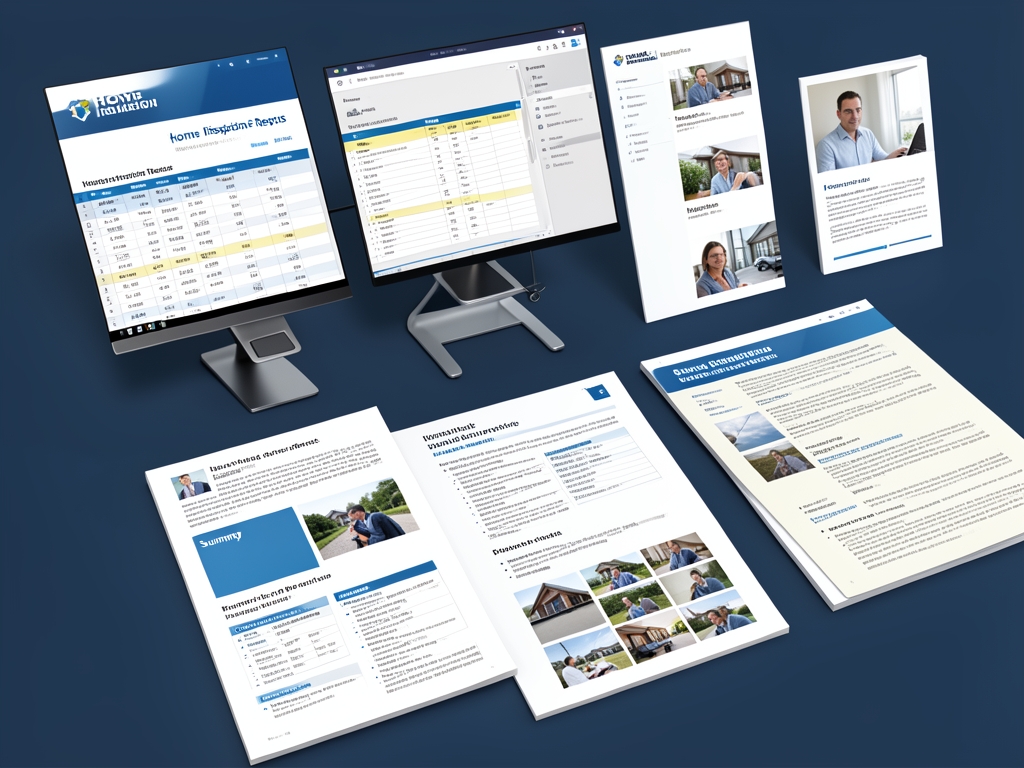
AI-generated illustration for article.
A grounded VBA example
The macro below automates the entire Excel → Word → PDF pipeline. It validates image existence, creates the necessary output folders, and uses Word’s ExportAsFixedFormat to produce PDFs without leaving the workbook.
Run this code from the Excel workbook that holds your inspection data. Adjust the template and folder names only if you store them elsewhere.
Sub GenerateInspectionReports()
    Dim xl As Workbook, ws As Worksheet
    Dim lastRow As Long, i As Long
    Dim wdApp As Object, wdDoc As Object
    Dim templatePath As String, outputFolder As String, imgFolder As String
    Dim photoPath As String

    Set xl = ThisWorkbook
    Set ws = xl.Sheets("Data")
    lastRow = ws.Cells(ws.Rows.Count, "A").End(xlUp).Row

    templatePath = xl.Path & "\InspectionTemplate.docx"
    outputFolder = xl.Path & "\Reports\Word\"
    imgFolder = xl.Path & "\Photos\"

    If Dir(outputFolder, vbDirectory) = "" Then MkDir outputFolder

    Set wdApp = CreateObject("Word.Application")
    wdApp.Visible = False

    For i = 2 To lastRow
        Set wdDoc = wdApp.Documents.Open(templatePath, ReadOnly:=False)

        ' Replace bookmarks with cell values
        Call ReplaceBookmark(wdDoc, "ClientName", ws.Cells(i, "B").Value)
        Call ReplaceBookmark(wdDoc, "Address", ws.Cells(i, "C").Value)
        Call ReplaceBookmark(wdDoc, "InspectionDate", ws.Cells(i, "D").Value)

        ' Insert property photo if file exists
        photoPath = imgFolder & ws.Cells(i, "E").Value
        If Dir(photoPath) <> "" Then
            Call InsertPictureAtBookmark(wdDoc, "PhotoMain", photoPath)
        End If

        ' Save Word file
        Dim wordFile As String
        wordFile = outputFolder & "Report_" & ws.Cells(i, "B").Value & ".docx"
        wdDoc.SaveAs2 wordFile

        ' Export PDF
        Dim pdfFolder As String
        pdfFolder = xl.Path & "\Reports\PDF\"
        If Dir(pdfFolder, vbDirectory) = "" Then MkDir pdfFolder
        wdDoc.ExportAsFixedFormat OutputFileName:=pdfFolder & _
            "Report_" & ws.Cells(i, "B").Value & ".pdf", ExportFormat:=17

        wdDoc.Close False
    Next i

    wdApp.Quit
    MsgBox "Inspection reports generated: " & (lastRow - 1) & " files.", vbInformation
End Sub

Sub ReplaceBookmark(doc As Object, bmName As String, txt As String)
    On Error Resume Next
    doc.Bookmarks(bmName).Range.Text = txt
    On Error GoTo 0
End Sub

Sub InsertPictureAtBookmark(doc As Object, bmName As String, picPath As String)
    Dim rng As Object
    On Error Resume Next
    Set rng = doc.Bookmarks(bmName).Range
    If Not rng Is Nothing Then
        rng.InlineShapes.AddPicture FileName:=picPath, LinkToFile:=False, SaveWithDocument:=True
    End If
    On Error GoTo 0
End Sub
If you need to add extra placeholders, copy the InsertPictureAtBookmark call and change the target name. The macro is deliberately simple so you can extend it safely.
Where VBA starts to strain
While VBA offers a quick, offline way to move data from Excel to Word and then to PDF, it starts to hit practical constraints once the volume or complexity of your inspections grows.
Performance and error handling
When the spreadsheet reaches several thousand rows the process becomes noticeably slower because Word document handling adds repeated overhead. Any unhandled error—such as a missing placeholder, a corrupted image, or a Word crash—can abort the whole batch. Adding explicit error trapping helps, but the code becomes harder to maintain.
Dependency on Office environment
The workflow relies on the exact path of the Word template and the presence of a compatible Office version. If a user upgrades to a newer Office build or runs the file on a machine without Word, the generation step fails. To protect against this, verify Word is installed before the loop and keep template paths configurable rather than hard-coded.
A calmer way to standardize the workflow
DocxForge Pro takes the same local-first principles and adds a dedicated interface for batch generation, image staging, and folder management, removing the need to hand-write VBA.
DocxForge Pro is a local Windows document automation suite for Excel or structured case data, Word templates, text tags, photo tags, and Word or optional PDF output.
Use Contractor for controlled case work from Excel and/or structured case data, or use Factory for Excel batch production and larger output runs. Excel remains valid for both live workflows.
Start Free 7-Day TrialReady-made batch engine
Select your Excel file, point to a Word template, and let the workflow handle text replacement, image resolution, and local PDF export. Separate WORD and PDF output folders are managed automatically.
Frequently asked questions
Common questions about setting up and maintaining the workflow are answered below.
Can this workflow stay inside Microsoft Office tools?
Yes, for many workflows the data-prep and document-output steps can stay inside the existing toolset, but the fragile part is usually the repeatability of the final document stage.
Where does VBA help the most?
VBA is usually most useful for prep, normalization, field updates, file naming, or small batch helpers rather than for building a full document workflow from scratch.
When does the workflow become brittle?
The workflow usually becomes brittle when templates, images, output folders, or PDF export steps have to be repeated across many records without a stable generation layer.
Topics and Tags
Browse related topic clusters and workflow tags connected to this article.
Continue Reading
Explore more articles related to this workflow, problem, or document automation topic.
How to Automate Home Inspection Reports with Excel, Word, and PDF
Learn how to streamline home inspection report creation by linking Excel data, Word templates, and PDF output with a practical VBA‑driven workflow.
Read articleHow to Create Photo-Based Property Condition Reports
Create photo-based property condition reports
Read articleExcel → Word → PDF Workflow for Compliance Evidence Packs
Build a compliance evidence pack workflow using Excel, Word, and PDF
Read articleHow to Create Inspection Reports from Excel, Word, and Photos
Create inspection reports using Excel, Word, and photos
Read article